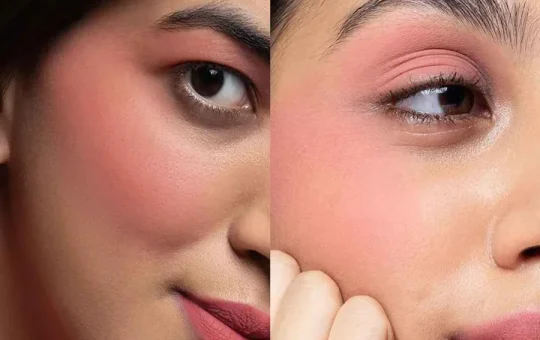
The folded concealer can make the eyes look even sleepier. Fine lines appear to be deeper and the product sinks into each fold by midday. Concealing is not just about the product, it’s about the prep, how much to use and technique – and not about the price.
This article will introduce you to what causes creasing, some formulas that work well and a basic procedure that you can do daily.
How to Apply Concealer Without Creasing
If concealing without a crease, apply to hydrated skin and thin application of eye cream or primer. Only apply a tiny bit of concealer. Use a damp sponge or finger to tap it in, rather than rubbing. Lightly powder it then blend any excess product off. Thin layers, light setting and gentle blending will help to maintain concealer smoothness for longer.
Why Does Concealer Crease?
Understanding the cause is the first step in learning how to apply concealer without creasing. Creasing happens when product collects in the natural lines of your skin. It usually comes down to a few simple habits.
Here are the most common causes and their fixes:
| Cause | What Happens | Simple Fix |
| Dry under-eye skin | Concealer clings to dry patches and lines | Use a light eye cream first |
| Too much product | Thick layers settle into folds | Apply a few small dots only |
| Heavy or matte formula | Product looks cakey and cracks | Switch to a creamy, flexible formula |
| Too much setting powder | Skin looks dry and crinkled | Use a fine powder, very lightly |
| Skipping blending | Product sits on top of skin | Tap and blend until it melts in |
| Oily skin | Oil breaks down the product | Use primer and set with care |
Most people deal with more than one of these at the same time. Fix one habit at a time and you will see the difference.
Prep Your Skin First
The best way to successfully apply concealer without creasing is to be well-prepared. A smooth base will aid in concealer adhering to your skin as it sits on top.
Start with moisture. Use an eye cream or a light moisturizer under, around and over the eye. A little goes a long way, as too much can run.
Wait 1-2 minutes. Allow skin to absorb the product. The concealer is prone to migrating if skin is wet or sticky.
Use a primer if necessary. Eye primers are used in the case of oily eyes or deep lines. Use sparingly.
Apply foundation first. If applying foundation, apply it first, and then apply concealer. This will reduce the amount of concealer that you need because the foundation will even out your skin tone.
Choose the Right Concealer Formula
The formula you pick matters a great deal. A product that is too thick or too dry will crease no matter how well you apply it.
| Formula | Best For | Creasing Risk |
| Liquid | Most skin types, daily wear | Low when used in thin layers |
| Cream (stick or pot) | Strong coverage on dark circles | Higher if applied heavily |
| Serum-like or skin tint concealer | Dry or mature skin | Low |
| Powder-based | Oily skin, spot use | Higher around the eyes |
Liquid and serum-like formulas tend to move with your skin. That flexibility makes them a popular choice for the under-eye area.
Also check the shade. A concealer that is far lighter than your skin often needs extra blending and extra powder, which can lead to creasing. Many makeup artists suggest choosing a shade that is close to your skin tone, or just slightly lighter.
Step-by-Step: How to Apply Concealer Without Creasing
Follow the series of steps below. They can be used on all skin types and only require a few minutes.
Step 1: Moisturize. Apply with Pat eye cream to the eye area and massage in to absorb.
Step 2: Apply foundation. Even the skin color first, otherwise you’ll have to apply less concealer.
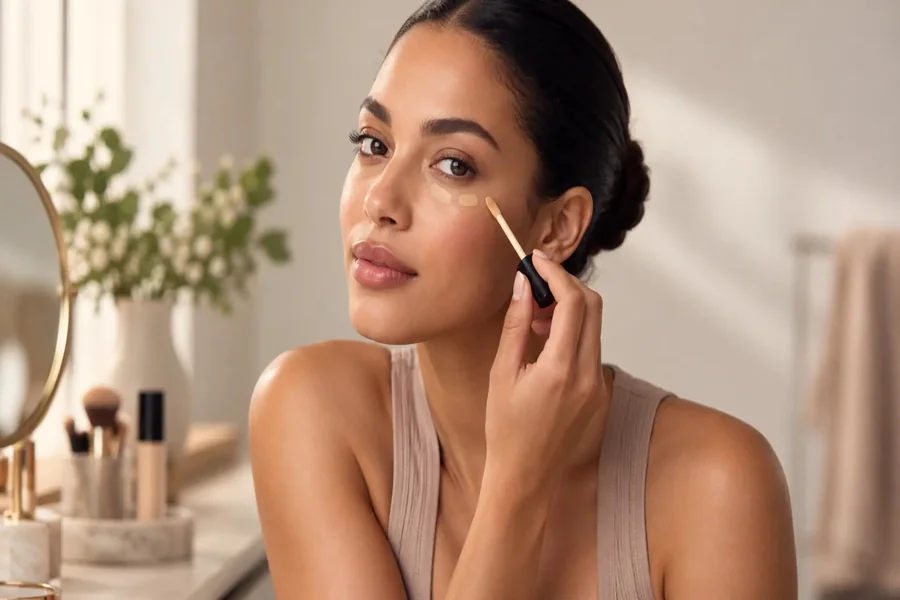
Step 3: DO NOT swipe, dot them. Apply 2-3 small dots of concealer under each eye. Place a small point on the inner corner and other locations (if needed). Do not make a continuous line that covers the entire area.
To mix in step 4, tap. Use a damp make-up sponge and/or ring finger. Press lightly and gently tap. Drapes or rubs to produce lines.
Step 5: Construct only when necessary. If it is still dark add a little to that spot and strike once again. A single thin layer is preferable to one thick layer.
Step 6 – Take off excess. Search for product collection along borders or in thin lines. Squeeze a clean sponge on that to remove it.
Step 7: Set lightly. Use a small brush or clean sponge and apply to a small area just where necessary and use only a little powder. This will be further explained later on.
Use the Right Tools
Your tools can give you the finish you want. It doesn’t take a lot, but it must be clean and appropriate.
- Damp makeup sponge: It is used to apply makeup in the skin and provide a natural soft finish. Before using, squeeze out excess water.
- Medium sized brushes: These work well for spreading powder all over the brush, and do not need to be pressed and are useful for spot concealing and applying powder in hard to reach areas. Tiny brushes: These are great for applying powder around the brush, for spot concealing, and powdering in hard to reach areas.
- Fingertips: Warms the product with heat from fingers to allow penetration into the skin. Lots of people enjoy it because of its softness.
Wash brushes and sponges regularly. If the application is defective and contains old products and dirt, it may show up as a patchy application.
Set Concealer the Right Way
A third mistake is to set concealer in place only using the setting. One of the quickest methods to make creases is with a heavy hand with powder.
Please remember to adhere to the following etiquette while setting:
- Use a light powder that is fine and light. A translucent choice can be a great one.
- Use a small scoop and then make a tap off.
- Squeeze the powder in, but don’t sweep it on the skin.
Pay attention to the crease where it is located—like the inside underside of the eye and the outside eye corners.
If the skin is dry, you may only need to set the center of the underside of the eye or you might choose not to use any powder and apply a setting spray instead. Follow the instructions that are based on your skin type.
Common Mistakes to Avoid
Even if you know how to apply concealer without creasing, you can go back into the old ways. Be alert to these:
- Excess amount of product. The more, the more doesn’t necessarily mean more concealer. Build slowly.
- Applying to dry, bare skin. Moisture always comes before the addition of other ingredients.
- Avoiding the waiting period. Allow time for each layer to settle.
- Over-powdering. It is not something that too little concealer would cause, it would be cakey if too much powder is used!
- Contact with face throughout the day. Do not rub or press under the eyes as it may disturb the product.
- Using old or used, dried concealer. Products that have expired can alter in texture and function.
Adjust Your Routine for Your Skin Type
Even though concealer can be applied without creasing, there are some variations for different skin types. These are notes to get you started.
Dry skin: Drink lots of water, drink some more water, drink even more water. Use a concealer or serum concealer – if you do use it, use it sparingly.
Oily Skin: Apply a light application of primer and a light formula. In the event that it’s to be set, blot papers throughout the day and set light.
Mature skin: Opt for a gentle and lightweight moisturizer that can be easily applied. Stay away from thick and matte products, as they can give a shine which can highlight fine lines.
Combination skin: Apply different products to the different skin areas. Moisten the dry areas and make shiny areas.
Final Thoughts
Smooth concealer is derived from simple actions done throughout the day. Apply moisturizer, use a non-greasy lotion and apply the correct amount (not too much). Lightly tap, blend and set.
Remember there is a technique to concealer—it’s not about creasing—it takes practice. There are a number of things to consider such as your skin type, formula and your tools, so you will need to adjust on the fly. Follow the recommendations in this guide for 1 week, and continue to use the ones that are effective for your face.
FAQs
Why does my concealer crease after a few hours?
Concealer usually creases when the skin is dry, when too much product is used, or when the formula is too heavy. Natural facial movement, such as smiling or squinting, can also push product into lines. Thin layers and good hydration help the most.
Should I apply concealer before or after foundation?
Most makeup artists recommend applying foundation first. It evens out your skin, so you can use less concealer and place it only where needed. If you prefer a very light base, you can apply concealer first and blend it carefully.
Can I use powder if I have dry under-eyes?
Yes, but use a very small amount of fine powder, or skip it. Dry skin can look more textured with powder. A setting spray or a well-hydrated base may be enough.
What is the easiest way to learn how to apply concealer without creasing?
Start with three habits: moisturize first, use small dots of product, and tap instead of rubbing. Practice these for a week and you will likely notice smoother results. Small changes in your routine matter more than buying new products.
Is it better to use a sponge or a brush?
Both work. A damp sponge gives a seamless, natural finish and presses product into the skin. A small brush is better for precise spots. Choose the tool that feels most comfortable and suits the coverage you want.
How do I fix concealer that has already creased?
Gently press a clean fingertip or sponge over the creased area to warm and smooth the product. Remove the excess, then add a tiny amount of concealer if needed. Avoid adding more powder, as it can make creases more visible.